Zennにこの記事を清書したものを公開しています。 もし何らかの変更があった場合、Zennの方を更新していくことになるため新しい情報が欲しい場合はZennの方を参照してください。
Shougoさんがドッグフーディングを開始したそうなので、dpp.vimの導入を始めてみる。
この記事ではdein.vimからdpp.vimへと移行する事を想定して、どのように設定を構成していけば良いのか書いていく。
環境
自分の環境を列挙していく
- Manjaro Linux
- NVIM v0.10.0-dev-25cfe3f
ちょっとした宣伝
現状fishでしか動かないので注意
自分は今回お手製環境切り替えツールneoenvを使いNVIM_APPNAMEを変更してインストール作業を行っている。
neoenvはざっとこんな事ができる。
neoenv add APP_NAMEで環境追加neoenv removeでファインダーが開くので絞り込んで指定すると削除される。ただしディレクトリ等は削除されない。neoenv switchで環境を切り替えるシェルスクリプトを出力する。パイプでsourceすると適用される。 例)neoenv switch | source
ddp.vimの基本コンセプト
デフォルトでは何もしない、ユーザーが全てをコントロール出来るパッケージマネージャー
- denops依存
- プラグインのインストール周りの設定はTypeScript(Deno)で記述する
- 必要な機能は拡張機能を使って実現する
詳しい説明はShougoさんの紹介記事が詳しい。
下準備
dpp.vimは Neovim (0.10.0+)またはVim 9.0.1276+をサポートしているので、v0.9などを使っている人はNightlyなどをインストールする必要がある。
dpp.vimにはまだインストールスクリプトが無く、作る予定も無いそうなので手作業で準備をする。
ここではプラグインのインストールディレクトリは~/.cache/ddp/であるという前提でインストールを行っていく。
まずddp.vimとdenopsをgit cloneする。
mkdir -p ~/.cache/dpp/repos/github.com/
cd ~/.cache/dpp/repos/github.com/

mkdir Shougo
mkdir vim-denops

cd ./Shougo
git clone https://github.com/Shougo/dpp.vim

git clone https://github.com/Shougo/dpp-ext-installer
git clone https://github.com/Shougo/dpp-protocol-git
git clone https://github.com/Shougo/dpp-ext-lazy
git clone https://github.com/Shougo/dpp-ext-toml

cd ../vim-denops
git clone https://github.com/vim-denops/denops.vim
├─── Shougo
│ ├── dpp-ext-installer
│ ├── dpp-ext-lazy
│ ├── dpp-ext-toml
│ ├── dpp-protocol-git
│ └── dpp.vim
└── vim-denops
└── denops.vim
次に設定用のTSファイルを作成する。ここでは~/.config/nvim/dpp.ts配下に配置することにする。
touch ~/.config/nvim/dpp.ts
init.lua
READMEのConfig exampleを参考に自分がLuaに書き直したものが以下。
local dpp_base = "~/.cache/dpp/"
local dpp_src = "$HOME/.cache/dpp/repos/github.com/Shougo/dpp.vim"

local ext_toml = "$HOME/.cache/dpp/repos/github.com/Shougo/dpp-ext-toml"
local ext_lazy = "$HOME/.cache/dpp/repos/github.com/Shougo/dpp-ext-lazy"
local ext_installer = "$HOME/.cache/dpp/repos/github.com/Shougo/dpp-ext-installer"
local ext_git = "$HOME/.cache/dpp/repos/github.com/Shougo/dpp-protocol-git"
local denops_src = "$HOME/.cache/dpp/repos/github.com/vim-denops/denops.vim"

local dpp_config = "~/.config/nvim-dpp/dpp.ts"

-- vim.opt.runtimepath:append(denops_src)
vim.opt.runtimepath:prepend(dpp_src)

vim.opt.runtimepath:append(ext_toml)
vim.opt.runtimepath:append(ext_git)
vim.opt.runtimepath:append(ext_lazy)
vim.opt.runtimepath:append(ext_installer)

if vim.fn["dpp#min#load_state"](dpp_base) then
	vim.opt.runtimepath:prepend(denops_src)

	vim.api.nvim_create_augroup("ddp", {})

	vim.cmd(string.format("autocmd User DenopsReady call dpp#make_state('%s', '%s')", dpp_base, dpp_config))
end

vim.cmd("filetype indent plugin on")

if vim.fn.has("syntax") then
	vim.cmd("syntax on")
end
autocmdを定義するところがかなり見苦しいけど、自分はとりあえずこの設定で動かしてる。いつか直したい。
TypeScript
こちらのGistを参考に書いていきました。
遅延ロードが有効な状態の設定をここに貼っておきます。
dein.tomlやdein_lazy.tomlが~/.config/nvim-dppにあるという想定で書いています。
もしAPP_NAMEがこれと違う場合は、dotfilesDirの値を変更してください。
import {
  BaseConfig,
  ContextBuilder,
  Dpp,
  Plugin,
} from "https://deno.land/x/[email protected]/types.ts";
import { Denops, fn } from "https://deno.land/x/[email protected]/deps.ts";

export class Config extends BaseConfig {
  override async config(args: {
    denops: Denops;
    contextBuilder: ContextBuilder;
    basePath: string;
    dpp: Dpp;
  }): Promise<{
    plugins: Plugin[];
    stateLines: string[];
  }> {
    args.contextBuilder.setGlobal({
      protocols: ["git"],
    });

    type Toml = {
      hooks_file?: string;
      ftplugins?: Record<string, string>;
      plugins?: Plugin[];
    };

    type LazyMakeStateResult = {
      plugins: Plugin[];
      stateLines: string[];
    };

    const [context, options] = await args.contextBuilder.get(args.denops);
    const dotfilesDir = "~/.config/nvim-dpp/";

    const tomls: Toml[] = [];
    tomls.push(
      await args.dpp.extAction(
        args.denops,
        context,
        options,
        "toml",
        "load",
        {
          path: await fn.expand(args.denops, dotfilesDir + "dein.toml"),
          options: {
            lazy: false,
          },
        },
      ) as Toml,
    );

    tomls.push(
      await args.dpp.extAction(
        args.denops,
        context,
        options,
        "toml",
        "load",
        {
          path: await fn.expand(args.denops, dotfilesDir + "dein_lazy.toml"),
          options: {
            lazy: true,
          },
        },
      ) as Toml,
    );

    const recordPlugins: Record<string, Plugin> = {};
    const ftplugins: Record<string, string> = {};
    const hooksFiles: string[] = [];

    tomls.forEach((toml) => {

      for (const plugin of toml.plugins) {
        recordPlugins[plugin.name] = plugin;
      }

      if (toml.ftplugins) {
        for (const filetype of Object.keys(toml.ftplugins)) {
          if (ftplugins[filetype]) {
            ftplugins[filetype] += `\n${toml.ftplugins[filetype]}`;
          } else {
            ftplugins[filetype] = toml.ftplugins[filetype];
          }
        }
      }

      if (toml.hooks_file) {
        hooksFiles.push(toml.hooks_file);
      }
    });

    const lazyResult = await args.dpp.extAction(
      args.denops,
      context,
      options,
      "lazy",
      "makeState",
      {
        plugins: Object.values(recordPlugins),
      },
    ) as LazyMakeStateResult;

    console.log(lazyResult);

    return {
      plugins: lazyResult.plugins,
      stateLines: lazyResult.stateLines,
    };
  }
}
遅延ロード
遅延ロードを設定するにはdpp-ext-lazyが必要です。
上の手順通りに作業を行った場合はすでに使える状態なので大丈夫です。
遅延ロードのキモはこの部分です。
tomls.push(
      await args.dpp.extAction(
        args.denops,
        context,
        options,
        "toml",
        "load",
        {
          path: await fn.expand(args.denops, dotfilesDir + "dein_lazy.toml"),
          options: {
            lazy: true,
          },
        },
      ) as Toml,
);tomlsには読み込まれるTOMLファイルのオブジェクトの配列が入ります。
つまり、tomls.push()を実行することで新たにTOMLファイルを追加することができます。
この際、options.lazyをtrueにすることで読み込まれるファイルの遅延ロードが有効化されます。
今回は読み込まれるデータがTOMLのみなのでpushするだけで済んだけども、もし違うデータを読み込む場合は手動で統合(マージ)する必要がある。
stateLinesについて
stateLinesは、遅延ロードされる際に読み込まれるVimScriptです。
どんな内容か見たい場合はconsole.log(lazyResult.stateLines)することで内容を見ることができます。
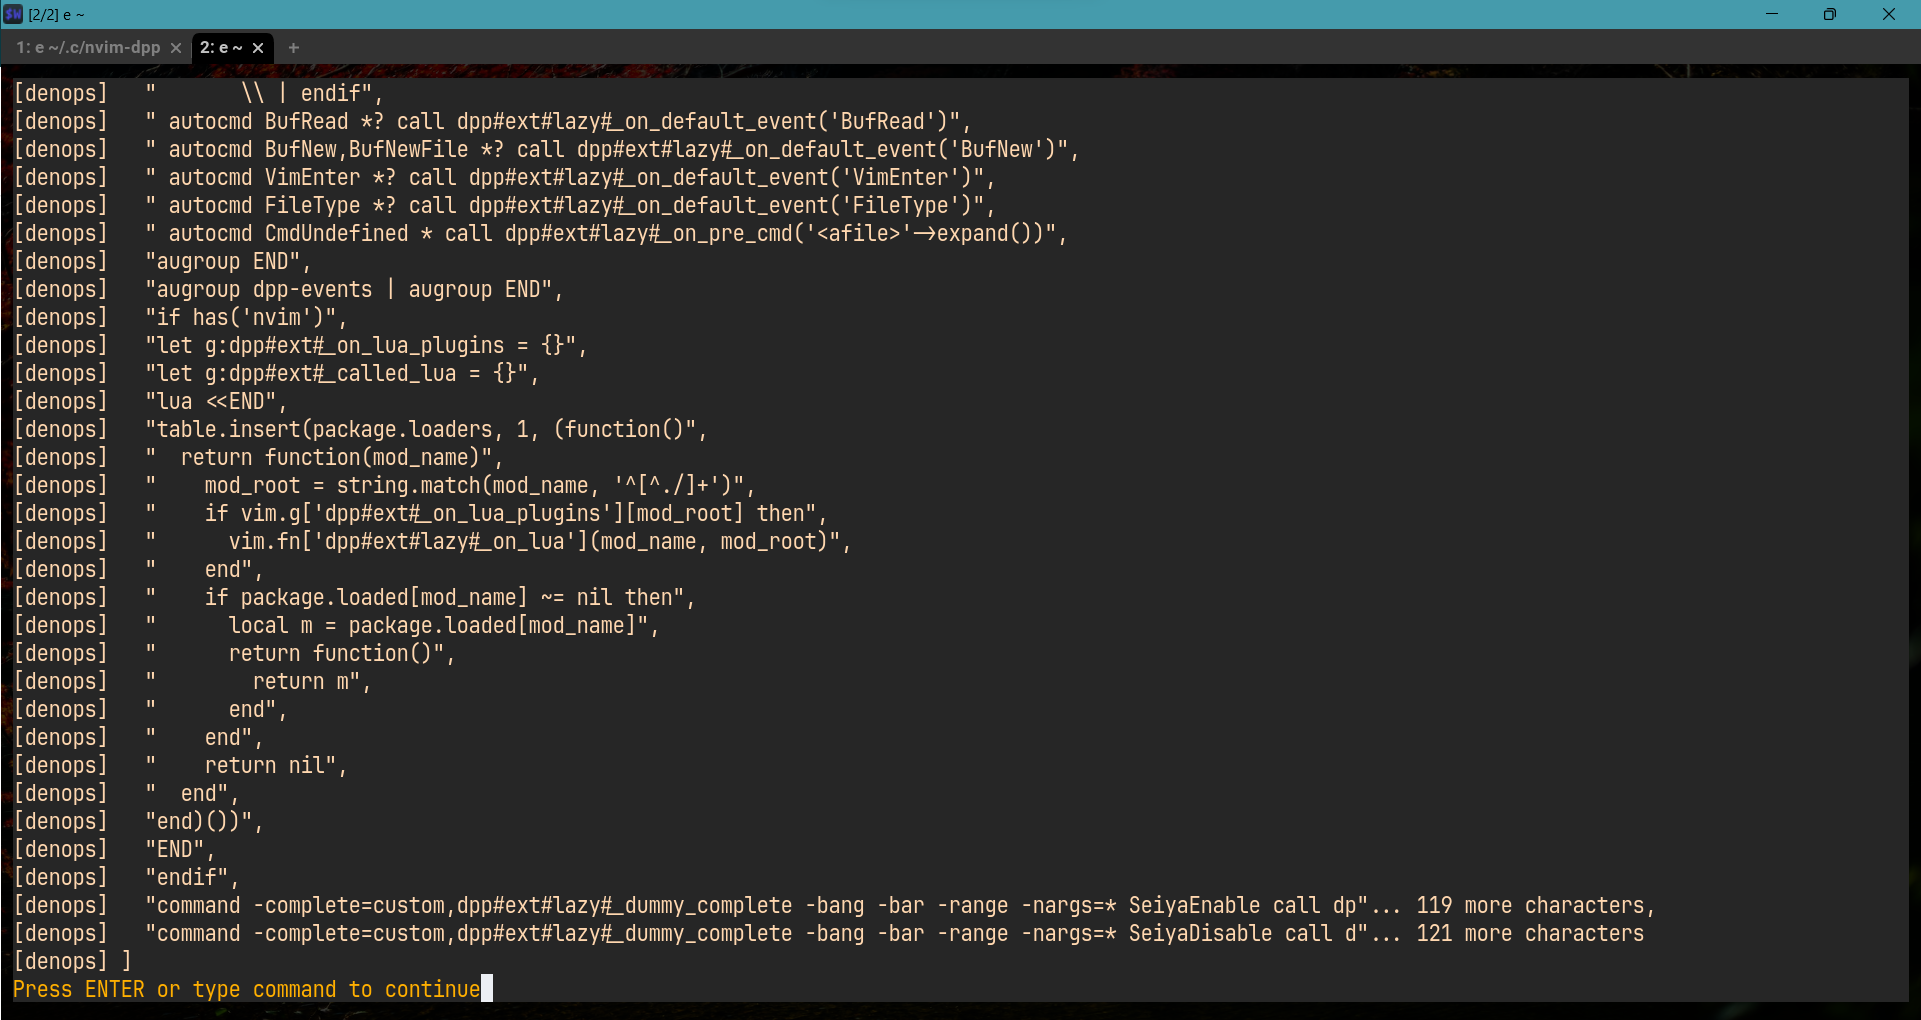
下あたりの行にcommand -complete=custom~で始まるスクリプトはdein_lazy.tomlで以下のように設定したものです。
[[plugins]]
repo = 'miyakogi/seiya.vim'
on_cmd = ["SeiyaEnable", "SeiyaDisable"]
ちゃんとコマンドで読み込み処理が発火するようにスクリプトが生成されています。
インストール処理の実行
dpp-ext-installerを使ってインストール処理を実行するには以下のコマンドを実行します。
# インストール
call dpp#async_ext_action('installer', 'install')

# アップデート
call dpp#async_ext_action('installer', 'update')